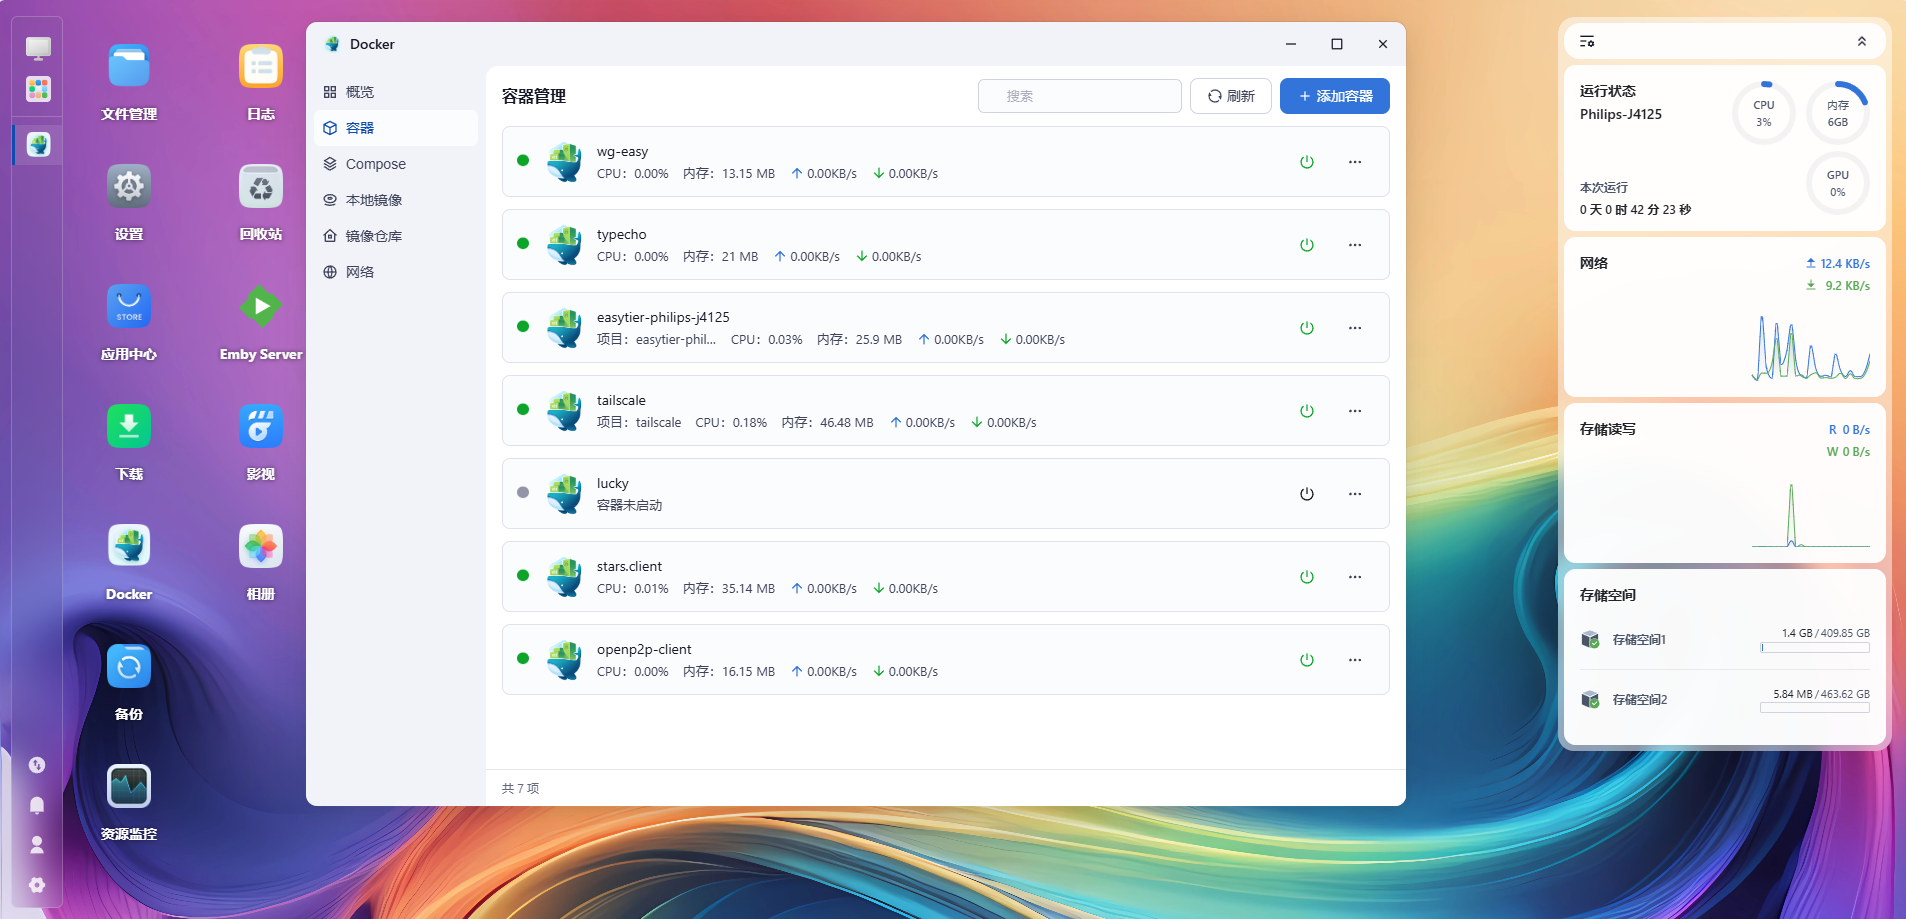
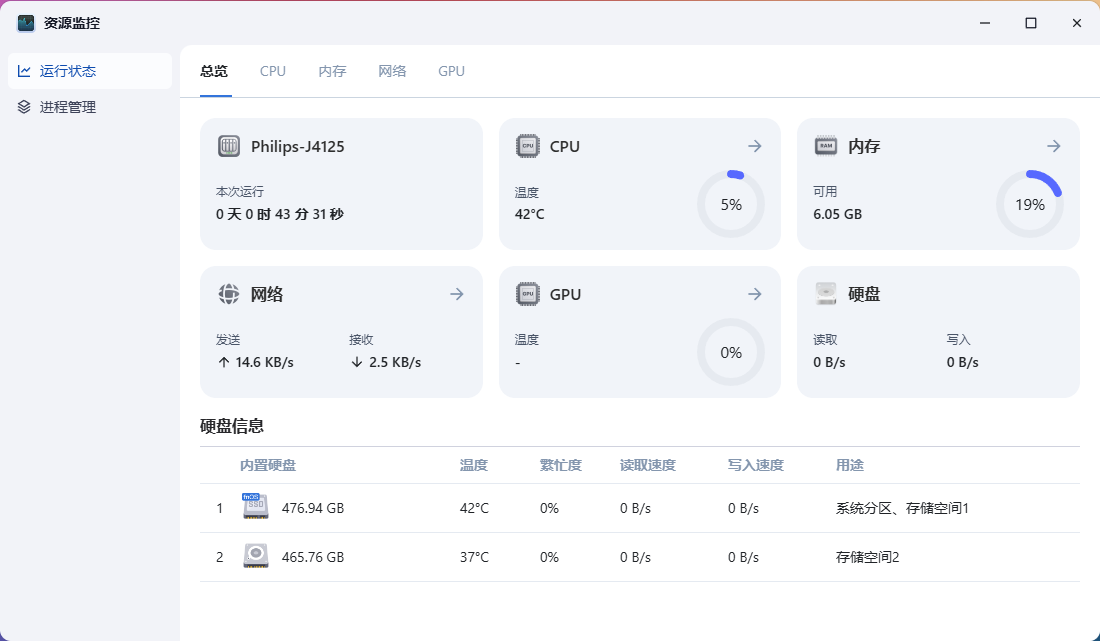
1.安装fnOS系统
rufus将iso镜像写入优盘,安装fnos
2.开启ssh
检查 SSH 服务器的状态:systemctl status ssh 可以看到没有运行
开启或重启 SSH :systemctl start ssh 或 systemctl restart ssh
开机启动SSH : systemctl enable ssh
3.安装 openp2p
docker :
docker run -d --privileged --cap-add=NET_ADMIN --device=/dev/net/tun --restart=always --net host --name openp2p-client -e OPENP2P_TOKEN=你的token openp2pcn/openp2p-client:latest
4.安装wireguard
Add Backports to sources.list(Debian Backports provides new packages with new features on supported Debian stable releases.)
将deb http://deb.debian.org/debian bookworm-backports main 添加到sources.list
备份一下sudo cp /etc/apt/sources.list /etc/apt/sources.list.bak
添加 sudo nano /etc/apt/sources.list
Run apt update or apt-get update
【2024.9.21更新 现在已不需要上述添加bookworm-backports源的步骤】
然后安装wireguard:apt install wireguard
下载并修改好的wg-easy 配置文件复制到目录 /etc/wireguard/ 下面,重命名为 wg0.conf
# 启动
sudo wg-quick up wg0
# 或者
sudo wg-quick up /etc/wireguard/wg0.conf
# 查看连接状态
sudo wg show wg0
# 设置开机启动
sudo systemctl enable wg-quick@wg0
# 测试
ping 192.168.2.2
5.安装星空组网
docker安装:
docker run -d \
--restart=always \
--privileged \
--net=host \
--name stars.client \
-e STARS_USER=《您的成员账号》 \
-e STARS_PASS=《您的成员密码》 \
xianwei2022/stars.client:5.0.4
#或者
docker run -d \
  --restart=always \
  --privileged \
  --net=host \
  --name stars.client \
  -e STARS_USER=《您的成员账号》 \
  -e STARS_PASS=《您的成员密码》 \
  registry.cn-beijing.aliyuncs.com/ld_beijing/stars.client:5.0.4
命令安装
# 先输入sudo -s切换至管理员权限后、然后添加软件源
sudo -s
curl -s -o /etc/apt/sources.list.d/starvpn.list https://file.starvpn.cn/stars/repo/deb/starvpn.list
curl -fsSL https://file.starvpn.cn/stars/repo/deb/public.key | sudo apt-key add -
# 更新软件源并安装
apt update
apt install starvpn
常用子命令:
stars login、logout、status、list
6.安装tailscale
参考:https://tailscale.com/kb/1282/docker
Settings--Personal Settings---Keys---Auth keys---Generate auth key…
Reusable:yes
Expiration:90days
Tags:yes
打开“Reusable”的开关,然后直接点击“Generate key”
点击“Copy”,找个记事本粘贴一下保存起来,后续会使用到。保存好以后直接点击“Done”。
拉取镜像
要拉取镜像,请运行:
docker pull tailscale/tailscale:latest
或
docker pull ghcr.io/tailscale/tailscale:latest
首先 使用 SSH 登录 fnOS,使用下面的命令建立所需文件夹:
mkdir -p /vol1/1000/docker/tailscale/var/lib
mkdir -p /vol1/1000/docker/tailscale/dev/net
可以用 Compose 安装 Tailscale
名称填写 tailscale,路径选择 /vol1/1000/docker/tailscale,来源选择 创建 docker-compose.yml,内容如下:
services:
    tailscale:
        container_name: tailscale
        volumes:
            - /vol1/1000/docker/tailscale/var/lib:/var/lib
            - /vol1/1000/docker/tailscale/dev/net/tun:/dev/net/tun
        network_mode: host
        restart: unless-stopped
        environment:
            - TS_AUTHKEY=    #填上一步生成的 Auth key
            - TS_EXTRA_ARGS=--advertise-exit-node
            - TS_ROUTES=192.168.xx.0/24   #把xx替换成自己网关的网段
            - TS_HOSTNAME=xx    #把xx替换成自己喜欢的名字,比如 fnOS
            - TS_STATE_DIR=./state/
        image: tailscale/tailscale
TS_AUTHKEY:填写上一步生成的 Auth key。
TS_ROUTES:填写 fnOS 所在的网段,比如 fnOS IP 为 192.168.2.22,TS_ROUTES 就填 192.168.2.0/24。
TS_HOSTNAME:填写自己喜欢的名字,比如 fnOS。
勾选 创建项目后立即启动,确认没问题,点击 完成,tailscale 很快就能启动。
7.安装easytier
docker compose
services:
   easytier:
         restart: always
         privileged: true
         mem_limit: 0m
         container_name: fnos-easytier
         hostname: easytier
         network_mode: host
         volumes:
               - /vol1/1000/docker/easytier:/root
         environment:
               - TZ=Asia/Shanghai
         image: easytier/easytier:latest
         command: -i 10.144.144.6 --network-name 920 --network-secret bxh123456 -e udp://192.168.1.18:11010
8.安装ddns-go和lucky
ddns-go应用商店直接安装
lucky用一键安装脚本
curl -o /tmp/install.sh https://6.666666.host:66/files/goluck_10k.sh && sh /tmp/install.sh https://6.666666.host:66/files 2.11.2
docker compose安装lucky(建议还是脚本安装):
services:
  lucky:
    image: gdy666/lucky
    container_name: lucky
    volumes:
      - 容器外持久化路径:/goodluck
    network_mode: host
    restart: always
9.安装openvpn客户端
【2025.3.17更新】
来源:https://blog.csdn.net/sydwy/article/details/144764156
安装openvpn客户端:
apt install openvpn -y
将群晖导出的ovpn配置文件拷贝到/etc/openvpn/目录下
cp /vol1/1000/home/BXH920.ovpn /etc/openvpn/BXH920.conf
启动这个配置文件
systemctl start openvpn@BXH920
然后命令行里输入用户名和密码
设置开机启动
systemctl enable openvpn@BXH920
完成!
点击展开
【以下方法过期】
Debian 设置代理 apt-get (proxy)
方法一:有系统变量文件/etc/profile 里增加 export http_proxy=http://username:password@proxyIP:proxyPORT(或者ip地址+端口号)
方法二:有用户变量文件~/.bashrc 里增加上面那句,只对指定的用户生效。
方法三:修改/etc/apt/apt.conf 文件,如果没有这个文件可以新建一个 增加一句:
Acquire::http::Proxy "http://username:password@proxyIP:proxyPORT"; (或者ip地址+端口号)注意后面有一个分号。
这里使用方法三:
nano /etc/apt/apt.conf
在apt.conf中写入 Acquire::http::Proxy "http://:@192.168.1.15:26001";
然后保存
然后走一遍安装
apt install apt-transport-https curl
mkdir -p /etc/apt/keyrings    ### This might not exist in all distributions
curl -sSfL https://packages.openvpn.net/packages-repo.gpg >/etc/apt/keyrings/openvpn.asc ###用可下载的机器下载后上传,然后拷贝到/etc/apt/keyrings/openvpn.asc
echo "deb [signed-by=/etc/apt/keyrings/openvpn.asc] https://packages.openvpn.net/openvpn3/debian bookworm main" >>/etc/apt/sources.list.d/openvpn3.list
apt update
apt install openvpn3
使用
Config
Suppose you have a configuration file called vpn.ovpn that’s connecting to a server in New York.
openvpn3 config-import —-config vpn.ovpn    # import a vpn configuration
openvpn3 configs-list                       # list all imported configurations
The vpn config name is called vpn.ovpn. If you have multiple openvpn files with the same filename, the imported config will have duplicate name, and cannot start a new session. In this case, it’s better to rename a config every time a config file is imported.
openvpn3 config-manage --config vpn.ovpn --rename new-york # rename a vpn configTo remove a openvpn config
openvpn3 config-remove --config new-york  # remove with config name
openvpn3 config-remove --path /net/openvpn/v3/configuration/xxxx  # remove with config path, find this with configs-list
Session
# connect
openvpn3 session-start --config vpn.ovpn                  # start a vpn session with a file
openvpn3 session-manage --disconnect --config vpn.ovpn    # disconnect session with a ovpn file

# disconnect
openvpn3 session-start --config new-york                  # start a vpn session with a imported configuration
openvpn3 session-manage --disconnect --config new-york    # disconnect session with import config name
10.搭建本地无损音乐库 Navidrome + music-tag-web
一是安装 Navidrome:
进入飞牛桌面的应用中心,找到 Navidrome 并点击安装。
安装完成后,把本地音乐导入到 NAS 的应用目录中,或者在 Navidrome 中自定义音乐目录
二是安装 Music Tag Web:
使用 Docker 安装 Music Tag Web
docker pull xhongc/music_tag_web:latest
docker run -d -p 8002:8002 -v /path/to/your/music:/app/media -v /path/to/your/config:/app/data --restart=always xhongc/music_tag_web:latest
或者
打开 Docker -> Compose -> 新增项目 并根据自己实际情况进行填写。
services:
  music-tag:
    image: xhongc/music_tag_web:latest
    container_name: music-tag-web
    ports:
      - "8002:8002"
    volumes:
      - /path/to/your/music:/app/media:rw
      - /path/to/your/config:/app/data
    restart: unless-stopped
ps. /path/to/your/music 改成你的音乐文件夹路径!/path/to/your/config 改为配置文件路径!
安装完成后,找到映射的 8002 端口,在浏览器中输入 ip:8002,使用默认账号密码 admin 登录,即可进入 Music Tag Web 刮削界面。
11.XiaoMusic: 无限听歌,解放小爱音箱
docker run -p 58090:8090 -e XIAOMUSIC_PUBLIC_PORT=58090 -v /xiaomusic_music:/app/music -v /xiaomusic_conf:/app/conf hanxi/xiaomusic
国内:
docker run -p 58090:8090 -e XIAOMUSIC_PUBLIC_PORT=58090 -v /xiaomusic_music:/app/music -v /xiaomusic_conf:/app/conf docker.hanxi.cc/hanxi/xiaomusic
对应的 docker compose 配置如下:
services:
  xiaomusic:
    image: hanxi/xiaomusic
    container_name: xiaomusic
    restart: unless-stopped
    ports:
      - 58090:8090
    environment:
      XIAOMUSIC_PUBLIC_PORT: 58090
    volumes:
      - /xiaomusic_music:/app/music
      - /xiaomusic_conf:/app/conf
国内:
services:
  xiaomusic:
    image: docker.hanxi.cc/hanxi/xiaomusic
    container_name: xiaomusic
    restart: unless-stopped
    ports:
      - 58090:8090
    environment:
      XIAOMUSIC_PUBLIC_PORT: 58090
    volumes:
      - /xiaomusic_music:/app/music
      - /xiaomusic_conf:/app/conf
其中 conf 目录为配置文件存放目录,music 目录为音乐存放目录,建议分开配置为不同的目录。
/xiaomusic_music 和 /xiaomusic_conf 是 docker 所在的主机的目录,可以修改为其他目录。如果报错找不到 /xiaomusic_music 目录,可以先执行 mkdir -p /xiaomusic_{music,conf} 命令新建目录。
/app/music 和 /app/conf 是 docker 容器里的目录,不要去修改。
XIAOMUSIC_PUBLIC_PORT 是用来配置 NAS 本地端口的。8090 是容器端口,不要去修改。
后台访问地址为: http://NAS_IP:58090
支持语音口令
【播放歌曲】,播放本地的歌曲
【播放歌曲+歌名】,比如:播放歌曲周杰伦晴天
【上一首】
【下一首】
【单曲循环】
【全部循环】
【随机播放】
【关机】,【停止播放】,两个效果是一样的。
【刷新列表】,当复制了歌曲进 music 目录后,可以用这个口令刷新歌单。
【播放列表+列表名】,比如:播放列表其他。
【加入收藏】,把当前播放的歌曲加入收藏歌单。
【取消收藏】,把当前播放的歌曲从收藏歌单里移除。
【播放列表收藏】,这个用于播放收藏歌单。
【播放本地歌曲+歌名】,这个口令和播放歌曲的区别是本地找不到也不会去下载。
【播放列表第几个+列表名】,具体见: #158
【搜索播放+关键词】,会搜索关键词作为临时搜索列表播放,比如说【搜索播放林俊杰】,会播放所有林俊杰的歌。
【本地搜索播放+关键词】,跟搜索播放的区别是本地找不到也不会去下载。

